Written by: Doug Camplejohn, CEO & Co-Founder, Coffee
Key Takeaways for Your Excel-to-Salesforce Migration
- Migrating from Excel to Salesforce improves forecast accuracy and delivers strong ROI when you follow a structured 7-step process.
- Success depends on thorough data audit, cleaning, deduplication, and mapping before any import begins.
- Choose the right Salesforce import tool based on record volume, then use Coffee Companion App to remove ongoing manual data entry.
- Post-migration automation with Coffee keeps Salesforce accurate by logging emails, calls, and meetings without rep intervention.
- See how Coffee handles your team’s data-entry workload from day one.
Readiness Checklist That Prevents Migration Rework
Confirm the following before exporting a single row. Each prerequisite reduces a specific migration risk and supports later steps.
- Salesforce admin access. At least one team member must hold System Administrator profile permissions to create custom fields, adjust validation rules, and run imports. Without this access, field mapping and error resolution stall mid-project.
- Data inventory. Document every object type, such as contacts, companies, deals, and activities, along with relationships and record counts before touching the source files. This inventory becomes your reconciliation baseline in Step 7.
- Stakeholder sign-off on field definitions. Representatives from sales, marketing, and support must agree on how each department uses the CRM day-to-day before field mapping begins. Resolving conflicting definitions later often requires re-importing thousands of records.
- Data cutoff date. Set a date after which no new records are entered in Excel, which prevents conflicts between the legacy file and the new Salesforce org. This keeps everyone working from a single source of truth.
- Realistic timeline. Plan for two to four weeks. Reserve about one week for audit and cleaning, one week for test imports, and one week for full import and validation, with buffer time for error resolution.
- Rollback plan. Confirm a rollback plan and back up all source data with verified record counts for every object before proceeding. This safety net lets you undo a failed import without losing data.
Step 1: Audit and Inventory Every Excel Sheet
Poor data quality during migration commonly appears as duplicate records, missing mandatory fields, inconsistent naming conventions, and outdated information. Catching these issues at the source costs minutes. Fixing them after import often costs days.
Inputs: Every Excel workbook used by the sales team, including pipeline trackers, contact lists, account directories, and activity logs.
Actions: Export each sheet as a UTF-8 CSV. Native Salesforce import tools require CSV format, so Excel files must be converted before any import operation. Record the row count for each object type in a master inventory spreadsheet. This count becomes your post-migration reconciliation baseline.
Output: A clean import template per object (Accounts, Contacts, Opportunities, Activities) with column headers that match or can be mapped to Salesforce field API names.
Step 2: Clean and Standardize Data Before Import
Common data quality issues include missing contact details, outdated email addresses, multiple records for the same company, and inconsistent formatting such as “USA” versus “United States.” Resolve these issues before import so Salesforce starts with reliable data.
Deduplication: Duplicate customer records in a new CRM block teams from creating a unified view of each customer. Remove duplicates to ensure each person and company appears once, with complete information in a single record.
Use Excel’s Remove Duplicates function or a tool like OpenRefine to merge rows that share the same email address or company domain. If duplicates slip through, cleanup inside Salesforce becomes slower and more complex.
Picklist values: Map every free-text status field, such as “Prospect,” “prospect,” or “PROSPECT,” to the exact picklist values defined in Salesforce. Mismatches cause import errors or silent data loss when Salesforce rejects invalid values.
Date formats: Salesforce requires dates in MM/DD/YYYY or YYYY-MM-DD format. Bulk-convert date columns in Excel using the TEXT formula before export so every imported date lands correctly.
Callout — Duplicate Handling: Run a VLOOKUP or COUNTIF on email address columns to flag duplicates before export. Merge the most complete record manually. Fixing duplicates inside Salesforce is far harder than preventing them at the source.
Callout — Date Mismatches: European-format dates (DD/MM/YYYY) silently corrupt Salesforce date fields. Audit every date column and standardize to MM/DD/YYYY before generating your CSV.
Step 3: Choose Between Data Import Wizard, Data Loader, and Coffee
Salesforce provides two native tools, and Coffee adds an automation layer. The table below shows how each option handles record volume, setup effort, and ongoing data entry so you can match the tool to your migration and automation needs.
| Criterion | Data Import Wizard | Data Loader | Coffee Agent |
|---|---|---|---|
| Record limit | Up to 50,000 | Up to 5 million | No manual import required |
| Installation | Web-based, no install | Desktop client required | OAuth connection only |
| Ongoing automation | None | Command-line scheduling only | Continuous, logs emails, calls, and meetings automatically |
| Post-migration data entry | Manual (human-dependent) | Manual (human-dependent) | Eliminated by agent |
For teams under 50,000 records importing standard objects such as Accounts, Contacts, and Leads, the Import Wizard handles the one-time migration. Coffee then takes over to ensure no manual entry is required going forward.
Step 4: Map Fields and Relationships in the Correct Order
Parent records must be imported before child records: Accounts first, then Contacts, then Opportunities, then Activities. This order keeps relationships intact and prevents orphaned records.
Field mapping connects each Excel column to the correct Salesforce field so data lands where users expect it. The examples below show typical mappings for a basic sales dataset.
Field-mapping example:
- Excel “Company Name” → Salesforce
Account Name - Excel “Contact Email” → Salesforce
Email - Excel “Deal Value” → Salesforce
Amount - Excel “Close Date” → Salesforce
Close Date(MM/DD/YYYY) - Excel “Stage” → Salesforce
Stage Name(must match picklist exactly)
Callout — Missing Parent Records: If a Contact row references an Account that does not yet exist in Salesforce, the import fails or creates an orphaned record. Verify every Account name in your Contact CSV exists in Salesforce before running the Contact import.
Step 5: Run a Controlled Test Import in a Sandbox
Run a small representative test migration to catch format mismatches such as dates, phone numbers, and picklist values before scaling to the full dataset. This test protects production from preventable errors.
Select three to five rows that represent edge cases, such as a contact with no phone number, an opportunity at the earliest pipeline stage, and an account with a long name. Import this test CSV into a Salesforce sandbox. Spot-check each record manually. Review the error log the Import Wizard generates and resolve every flagged row before proceeding.
Step 6: Execute the Full Import with Validation Rules Temporarily Off
Salesforce validation rules enforce data standards in normal operation, but they frequently block bulk imports of historical data that predates those standards. Temporarily turning them off allows clean but older data to load successfully.
Callout — Validation Rule Collisions: Navigate to Setup → Object Manager → [Object] → Validation Rules and deactivate rules that enforce fields not present in your import file, such as a rule requiring a phone number on every Contact. Re-enable all rules immediately after import and before any live user activity.
Run the full import object by object in the correct sequence: Accounts, then Contacts, then Opportunities, then Activities. Download and archive the success and error logs for each run.
Step 7: Re-enable Rules and Verify Record Counts and Reports
Re-enable all validation rules immediately after the final import completes. Then verify the integrity of your new Salesforce data before users rely on it.
- Record counts match. Compare the post-migration counts against the baseline you established in Step 1 for every object. Any discrepancy requires investigation before users access the org.
- Zero duplicate contacts. Run Salesforce’s Duplicate Management report or a SOQL query on email address to confirm uniqueness.
- Live pipeline report. Build a standard Opportunity pipeline report and confirm stage distribution matches your pre-migration Excel summary.
- Spot-check key accounts. Open five to ten high-value Account records and confirm all child Contacts and Opportunities are correctly associated.
Once you have verified record counts and confirmed data integrity, the technical migration is complete. At that point, the focus shifts from one-time import tasks to the ongoing challenge of keeping Salesforce data accurate.
Post-Migration Automation with Coffee Companion App
The migration is complete, and the risk now is that Salesforce becomes another manual chore. Sales reps already spend approximately 70% of their time on non-selling tasks, and that percentage does not improve just because data now lives in Salesforce instead of Excel.
Coffee Companion App connects to your Salesforce org via OAuth. Once authenticated, the Coffee Agent maps to Accounts, Contacts, and Opportunities, then activates its meeting bot.
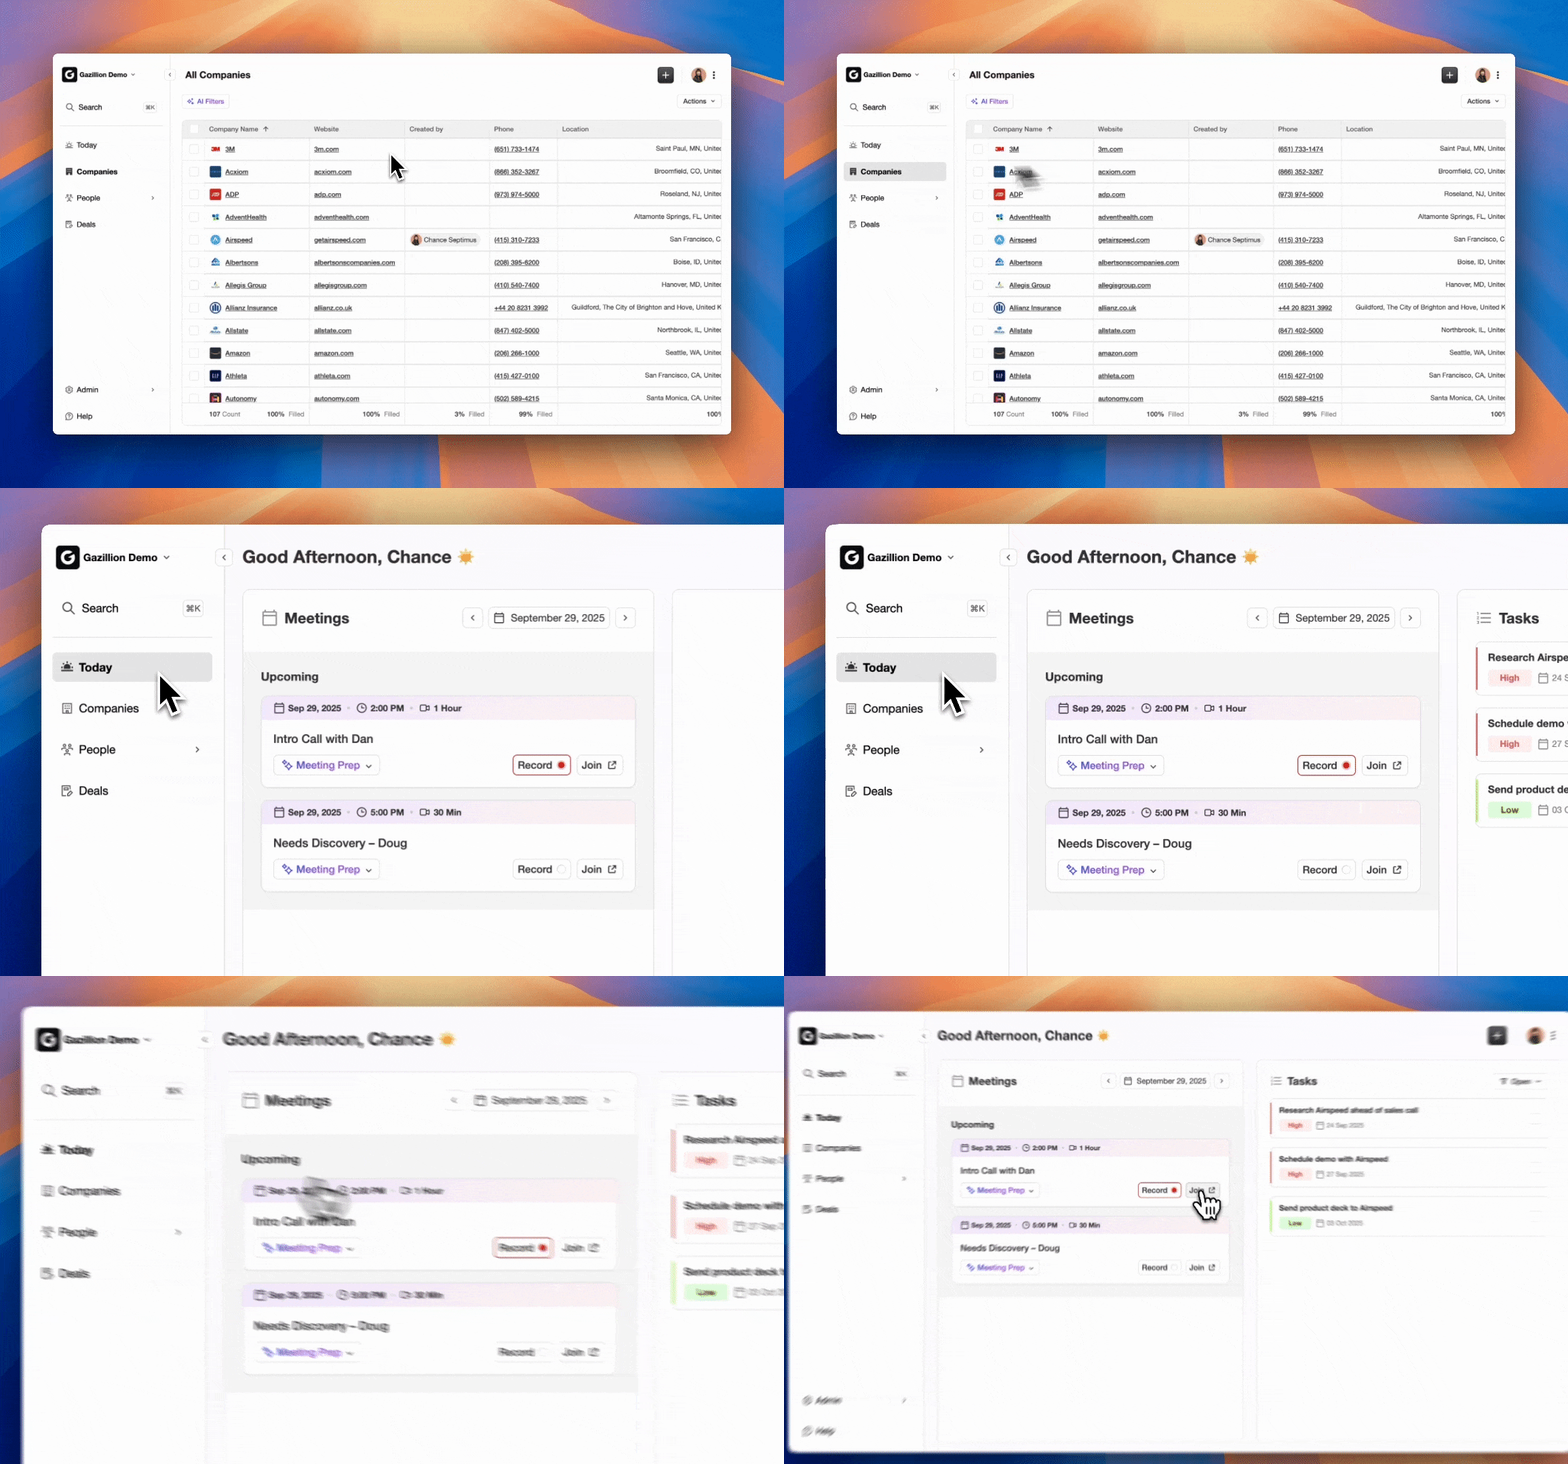
From that point forward, every email is logged automatically, every call is transcribed and summarized, and every meeting generates action items written back to the relevant Opportunity record. No rep touches a data-entry field. The Pipeline Compare feature tracks week-over-week changes across every deal, which replaces manual CSV exports and pipeline review spreadsheets.
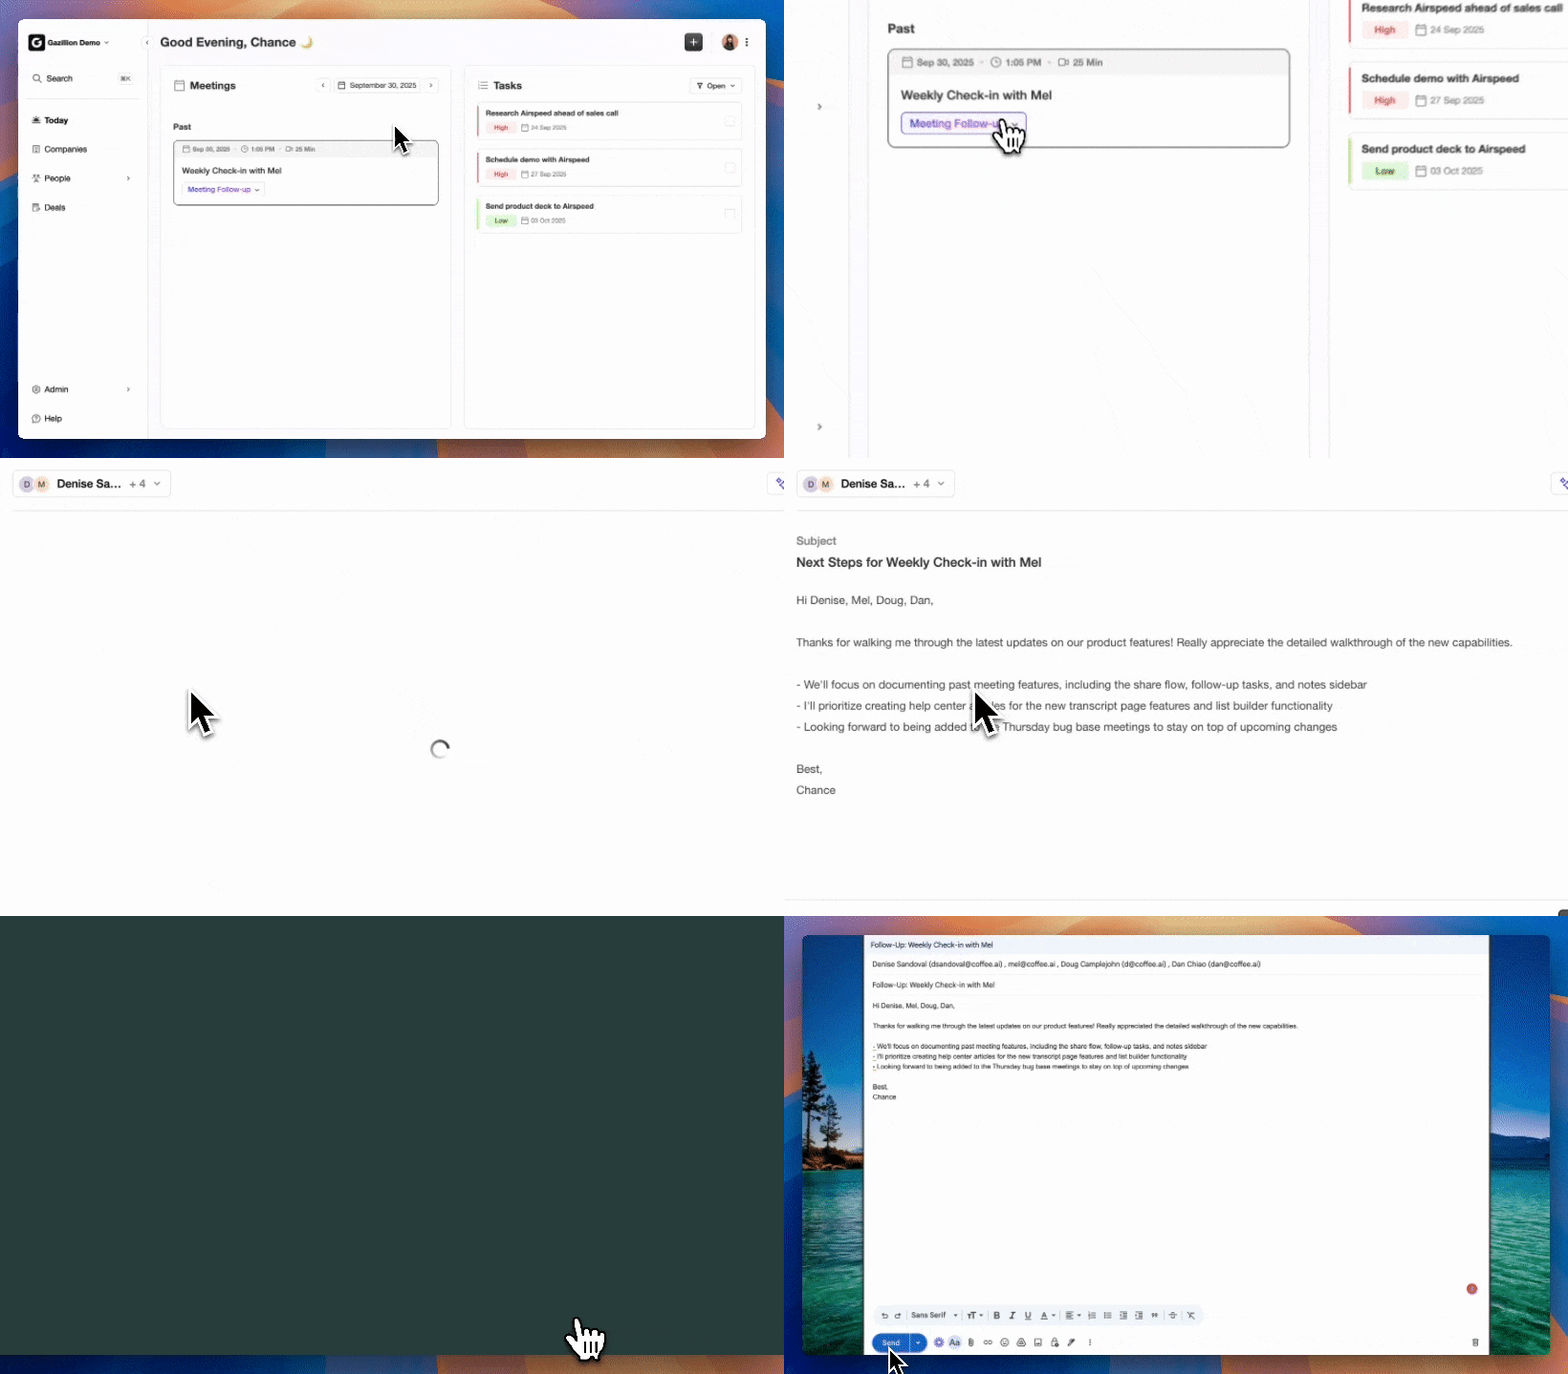
Connect Coffee to your Salesforce org and automate data entry from day one.
Simple Field-Mapping Template for Coffee Onboarding
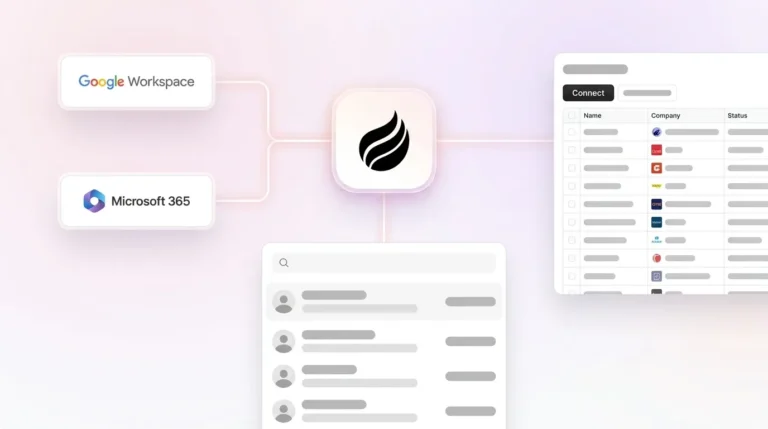
After you complete the Salesforce import, Coffee setup takes under fifteen minutes. Authenticate Coffee with your Google Workspace or Microsoft 365 account and your Salesforce org via OAuth.
Confirm that Coffee’s Account, Contact, and Opportunity objects map to your Salesforce equivalents, which Coffee auto-detects for standard objects. Enable the AI meeting bot for Zoom, Google Meet, or Microsoft Teams. Verify that the Pipeline Compare dashboard reflects your live Opportunity data.
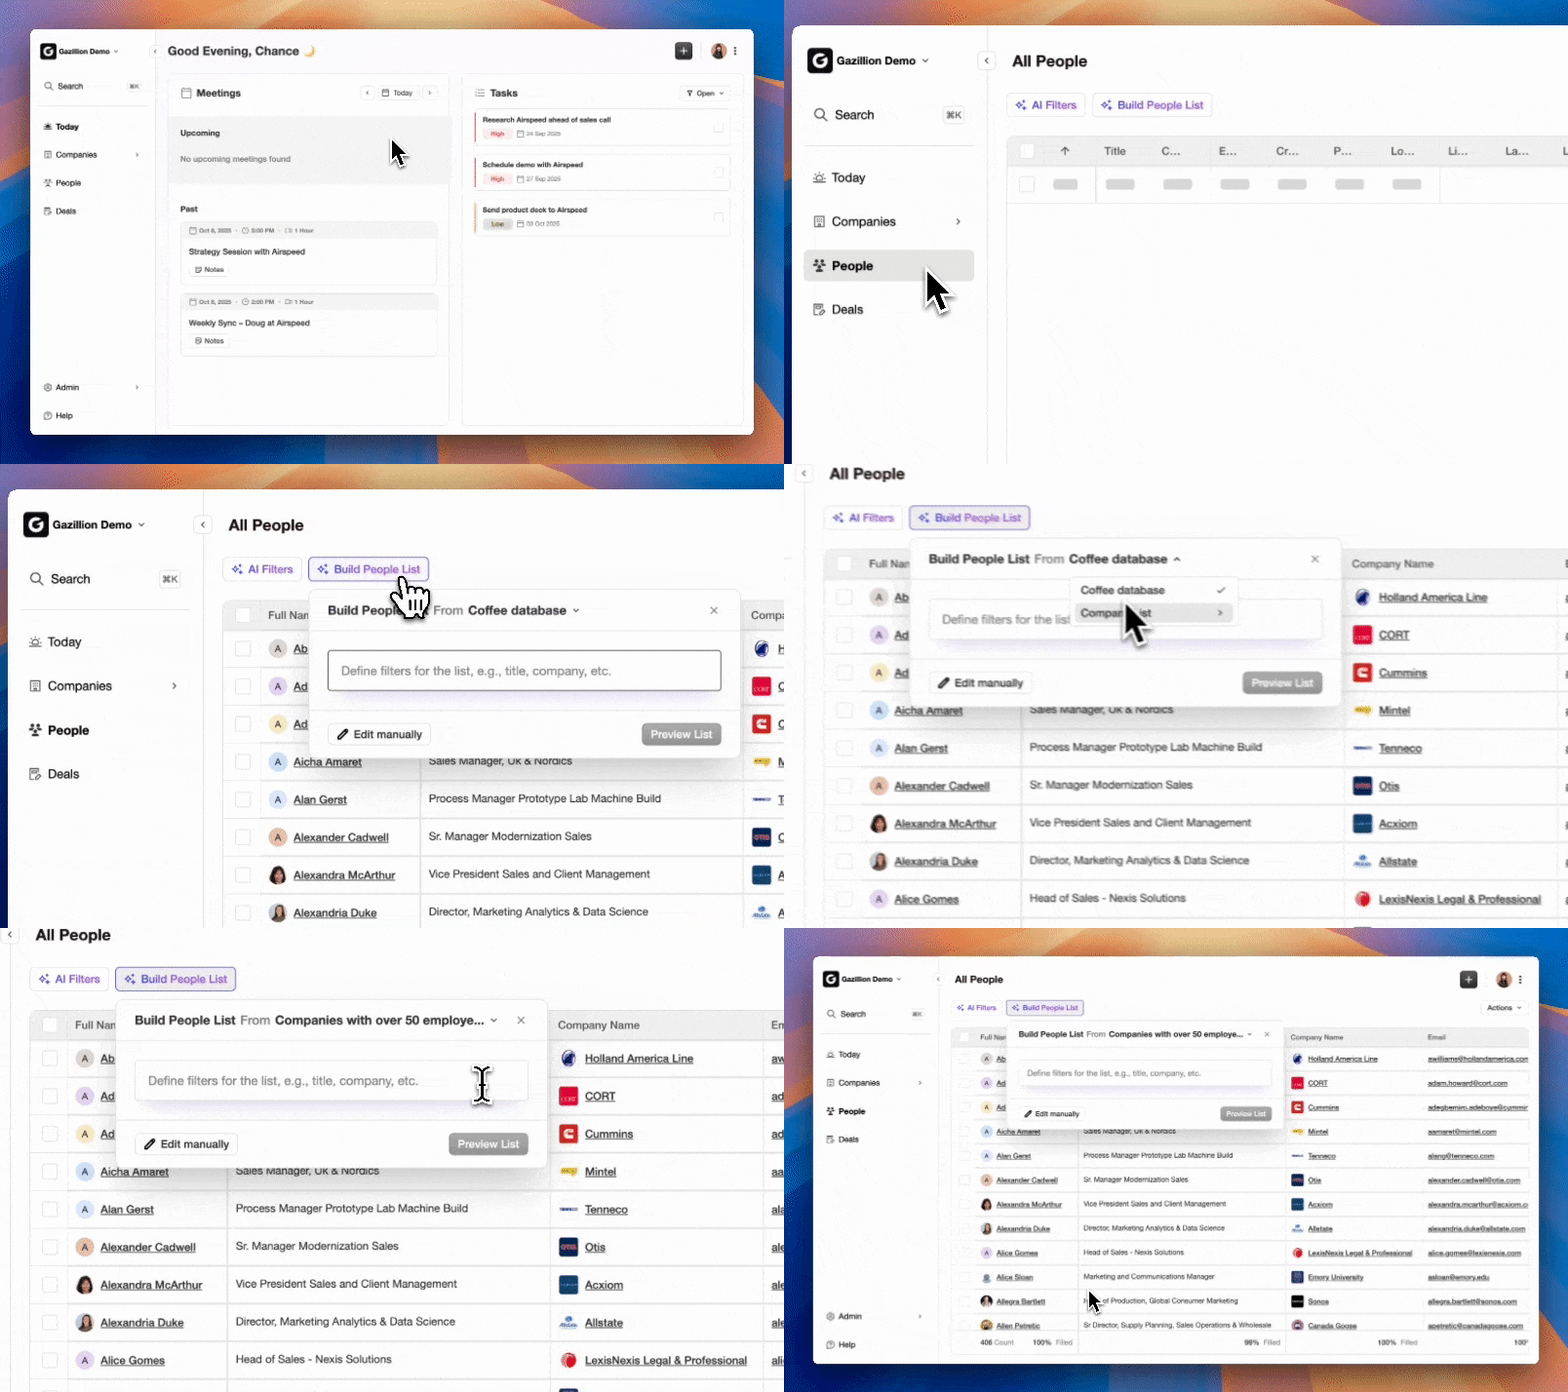
From this point, Coffee’s agent writes all activity data directly to Salesforce without human intervention and enriches Contact and Account records with job titles, funding data, and LinkedIn profiles via its licensed data partners.
Success Criteria and Next Steps After Migration
A successful migration meets three quantifiable criteria. You have zero duplicate Contact records confirmed by a deduplication report. Salesforce record counts match pre-migration Excel row counts for every object. Coffee generates a live Pipeline Compare report that shows current deal progression.
Assign a CRM administrator or RevOps owner to monitor the first 30 days for missed follow-ups, stalled deals, broken reports, and user workarounds. With Coffee active, that monitoring burden drops significantly because the agent flags stalled deals and pipeline changes automatically.
Frequently Asked Questions
How long does a full Excel-to-Salesforce migration take for a team of 10–50 people?
Small sales teams often complete the migration in a few weeks. The process includes data audit, deduplication, and cleaning, followed by field mapping, test imports, error resolution, full import, validation, and stakeholder sign-off. Teams with cleaner source data and a dedicated project owner can finish more quickly. Teams with multiple overlapping spreadsheets or inconsistent field formats typically require more time. Coffee onboarding adds less than one business day on top of that timeline.
Is Coffee secure enough for sales data?
Coffee is SOC 2 Type 2 and GDPR compliant. Customer data is not used to train public AI models. The OAuth connection to Salesforce uses standard token-based authentication and does not store Salesforce credentials. For teams in regulated industries, Coffee’s security documentation is available on request before any commitment.
Does Coffee integrate with tools beyond Salesforce?
Coffee connects natively to Salesforce and HubSpot as a Companion App, and to Google Workspace and Microsoft 365 for email and calendar data. Broader integrations with tools like Zapier are available, with deeper native integrations on the product roadmap. If your stack includes a specific tool, confirm compatibility before migration begins.
Can Coffee scale as the team grows from 5 to 50 users?
Coffee uses seat-based pricing with no complex metering on AI usage or automated processes. Adding a user means adding a seat, and the agent’s automated labor scales with the team at no additional per-action cost. Teams that start with five users and grow to fifty do not face pricing model changes or re-implementation work, because the same OAuth connection and field mappings remain in place.
What happens to historical Excel data that is not migrated into Salesforce?
Typical data to migrate is 3–5 years of history, with older records moved to a read-only archive rather than importing everything. The original Excel files should remain available post-migration so teams can reference historical context and resolve any discrepancies that surface during the validation period. After this period, the files can be archived.
Conclusion: Treat Migration as a Project and Automation as the Ongoing Strategy
The seven steps above move your Accounts, Contacts, Opportunities, and Activities from Excel into Salesforce with verified record counts and zero duplicates. That work represents the one-time project. The ongoing challenge is keeping Salesforce accurate after go-live, which requires an agent that handles data entry instead of a policy that relies on rep discipline.
Coffee Companion App removes the manual data-entry work that causes CRM data to degrade. It logs every interaction, enriches every record, and surfaces pipeline changes automatically so reps can focus on selling while the agent handles clerical tasks.
Explore Coffee and keep your Salesforce data trustworthy long after migration day.