Written by: Doug Camplejohn, CEO & Co-Founder, Coffee | Last updated: September 1, 2026
Key Takeaways
- Deliberate Salesforce pipeline configuration prevents forecast drift and eliminates shadow CRMs by enforcing consistent stage definitions and exit criteria.
- Accurate opportunity stages, Sales Path guidance, and Pipeline Inspection together create a single source of truth for reps and managers.
- Weighted pipeline reports, Collaborative Forecasts, and Flow automation surface risk early and keep close-date slippage visible.
- Manual data entry remains the primary failure point; without automation, even strong configurations produce stale or incomplete records.
- Coffee automates activity capture and field updates so your Salesforce pipeline stays accurate without rep effort. Get started with Coffee today.
Prerequisites: Get Your Foundations in Place
Confirm these pieces before you start configuring Salesforce:
- Salesforce admin access with Modify Metadata permissions
- A clearly defined sales process with agreed stage names and exit criteria, signed off by sales leadership
- Stakeholder alignment on forecast category mappings
- A sandbox environment for testing before deploying to production
Setup time typically ranges from one to eight weeks depending on scope and data quality. See the FAQ for a breakdown and share those expectations with stakeholders before the project begins.
Step-by-Step Setup Guide
Step 1: Configure Opportunity Stages
Start in Setup > Object Manager > Opportunity > Fields & Relationships > Stage. Click New under the Opportunity Stages picklist values area to add a stage, or click an existing value to edit it. For each stage, enter the stage name, stage type (Open, Closed Won, or Closed Lost), default probability, and forecast category.
After saving, add the stage to the correct Sales Process if record types are in use. A stage that appears in Setup but not on records almost always is missing from the Sales Process for that record type.
The table below shows a recommended stage configuration for a B2B sales team:
| Stage | Stage Type | Default Probability | Forecast Category |
|---|---|---|---|
| Prospecting | Open | 10% | Pipeline |
| Qualification | Open | 25% | Pipeline |
| Solution Fit | Open | 45% | Best Case |
| Proposal Sent | Open | 65% | Best Case |
| Negotiation | Open | 80% | Commit |
| Closed Won | Closed Won | 100% | Closed |
| Closed Lost | Closed Lost | 0% | Omitted |
Key configuration principles:
- As discussed in the FAQ, five to seven stages is the sweet spot for most B2B teams.
- Stage design should be based on buyer-verified milestones. For example, “proposal reviewed by economic buyer” predicts outcomes better than “proposal sent.”
- Define exit criteria before creating stage values. “Proposal Sent” should require evidence that the customer received pricing, not just that the rep sent an email.
- Capture loss reasons in a separate required field such as
Loss_Reason__cinstead of stages like “Closed Lost – Price.”
Step 2: Set Up Sales Path
Go to Setup > Quick Find > Path Settings > New Path. Select the Opportunity object and StageName as the picklist field. For each stage, add key fields reps should complete before advancing. Recommended fields include Amount, Close Date, Next Step, and stage-specific fields such as Competitor or Budget Confirmed.
Write concise guidance text for each stage that a rep can scan during a live call. Activate the Path so it appears at the top of Opportunity records in Lightning Experience.
Step 3: Enable Pipeline Inspection
Open Setup > Feature Settings > Sales > Opportunities > Pipeline Inspection Setup. Toggle Pipeline Inspection on. When Pipeline Inspection is turned on, historical trending is automatically enabled for opportunities if it is not already enabled, and the Next Step field is trended by default.
Assign the Pipeline Inspection permission set to sales reps and managers. Then add the Pipeline Inspection button to the Opportunity tab.
Pipeline Inspection is available only in Lightning Experience with Sales Cloud in Performance or Unlimited Editions. If the feature does not appear in Setup after an Unlimited Edition upgrade, contact your Salesforce Account Executive. Provisioning sometimes needs to be refreshed.
Step 4: Create Pipeline Reports and Dashboards
Navigate to the Reports tab, click New Report, then choose the Opportunities report type. Use the plain Opportunities report type as the starting point. Joined types such as “Opportunities with Contact Roles” can duplicate rows and inflate pipeline totals.
To focus the report, apply these filters:
- Stage not equal to Closed Won / Closed Lost
- Close Date equals Current FQ (or a custom range)
- Show Me: My Team’s Opportunities or All Opportunities
Then add the core columns. Include Opportunity Name, Account Name, Stage, Close Date, Amount, Probability, Opportunity Owner, and Next Step. Add a summary formula column for Weighted Amount using AMOUNT * PROBABILITY / 100, formatted as Currency.
Group rows by Stage, then by Opportunity Owner. Switch to Summary format so you can see subtotals by stage and owner.
Next, build a dashboard that highlights the most useful pipeline views. Consider these components:
| Component | Type | Description |
|---|---|---|
| Total pipeline value | Metric | Sum of Amount for all open opportunities |
| Weighted pipeline | Metric | Sum of Weighted Amount across the pipeline |
| Pipeline by stage | Funnel or stacked bar chart | Stage on X-axis, Sum of Amount on Y-axis |
| Win rate and stage conversion | Chart | Conversion from stage to stage and overall win rate |
| Pipeline coverage ratio | Metric | Pipeline value divided by quota, many B2B teams target 3–4x |
Save the report to a shared folder and schedule weekly delivery using the Subscribe icon.
Step 5: Set Up Forecasting
Open Setup > Forecasting Settings and enable Collaborative Forecasts. Map each opportunity stage to a forecast category: Pipeline, Best Case, Commit, Closed, or Omitted. Configure forecast types such as Amount and Quantity, and enable manager overrides if your process requires them.
Forecast categories group opportunities by confidence level for roll-up reporting. Probability drives Expected Revenue (Amount × Probability) at the deal level.
Einstein Forecasting requires Sales Cloud Einstein or a compatible premium edition. Standard Sales Cloud editions do not include predictive forecasting features.
Step 6: Add Automation with Flows
Go to Setup > Process Automation > Flows > New Flow. Salesforce’s legacy automation tools, Workflow Rules and Process Builder, have been in maintenance mode since 2024 and no longer receive feature updates. Flow replaces both.
Stale Deal Alert Flow (Scheduled-Triggered)
- Set the schedule to run daily during off-peak hours.
- Use Get Records for Opportunities where Stage is not Closed Won or Closed Lost and LastActivityDate is earlier than TODAY minus 14.
- Loop through results, create a Task for the owner, update a custom Deal Status field to “At Risk,” and send an email alert.
- Add a Decision element to apply stage-specific thresholds within a single flow. For example, flag Proposal stage deals after 7 days and Discovery stage deals after 14 days.
Next-Step Task Creation Flow (Record-Triggered)
- Trigger when Stage changes on an Opportunity record.
- Create a Task with subject “Send proposal” when Stage equals Proposal Sent.
- Create a Task with subject “Schedule demo” when Stage equals Qualification.
Close Date Slippage Alert Flow (Record-Triggered)
- Trigger when Close Date changes and the new value is greater than the prior value.
- Send an email alert to the deal owner’s manager.
Best Practices for Pipeline Hygiene
With automation in place, focus on keeping the pipeline clean through consistent hygiene habits.
- Use list views to segment pipeline by stage, owner, or risk status for fast triage.
- Enforce data quality with validation rules and block stage advances when required fields are empty.
- Run weekly deal-level pipeline reviews (30–45 minutes) focused on deals that changed stage, stalled, or have upcoming close dates.
- Conduct monthly pipeline scrubs. Flag anything untouched for 30+ days, then reassign or close-lost as appropriate.
Common mistakes to avoid:
- Leaving deals stuck in early stages for months without a stale-deal alert to surface them
- Using stages to represent reasons or tasks instead of process position
- Allowing duplicate records to inflate pipeline value, instead of using duplicate rules to prevent them
- Ignoring the Show Me filter on reports. Misaligned filters cause totals to differ from list views.
Quick Setup Checklist
- Setup > Object Manager > Opportunity > Fields & Relationships > Stage: Configure stages with probabilities and forecast categories.
- Setup > Path Settings > New Path: Create Sales Path with key fields and guidance text per stage.
- Setup > Feature Settings > Sales > Opportunities > Pipeline Inspection Setup: Enable Pipeline Inspection and assign permission sets.
- Reports tab > New Report > Opportunities: Build pipeline report with Weighted Amount summary formula.
- Dashboards tab > New Dashboard: Add pipeline components such as funnel chart, bar chart, and coverage ratio metric.
- Setup > Forecasting Settings: Enable Collaborative Forecasts and map forecast categories.
- Setup > Process Automation > Flows: Create stale deal alert, next-step task, and close date slippage flows.
Common Pitfalls and Troubleshooting
Low adoption: Reps skip data entry because it is tedious. Coffee automates data entry so the CRM becomes a byproduct of work reps already do. The system feels lighter and adoption improves.
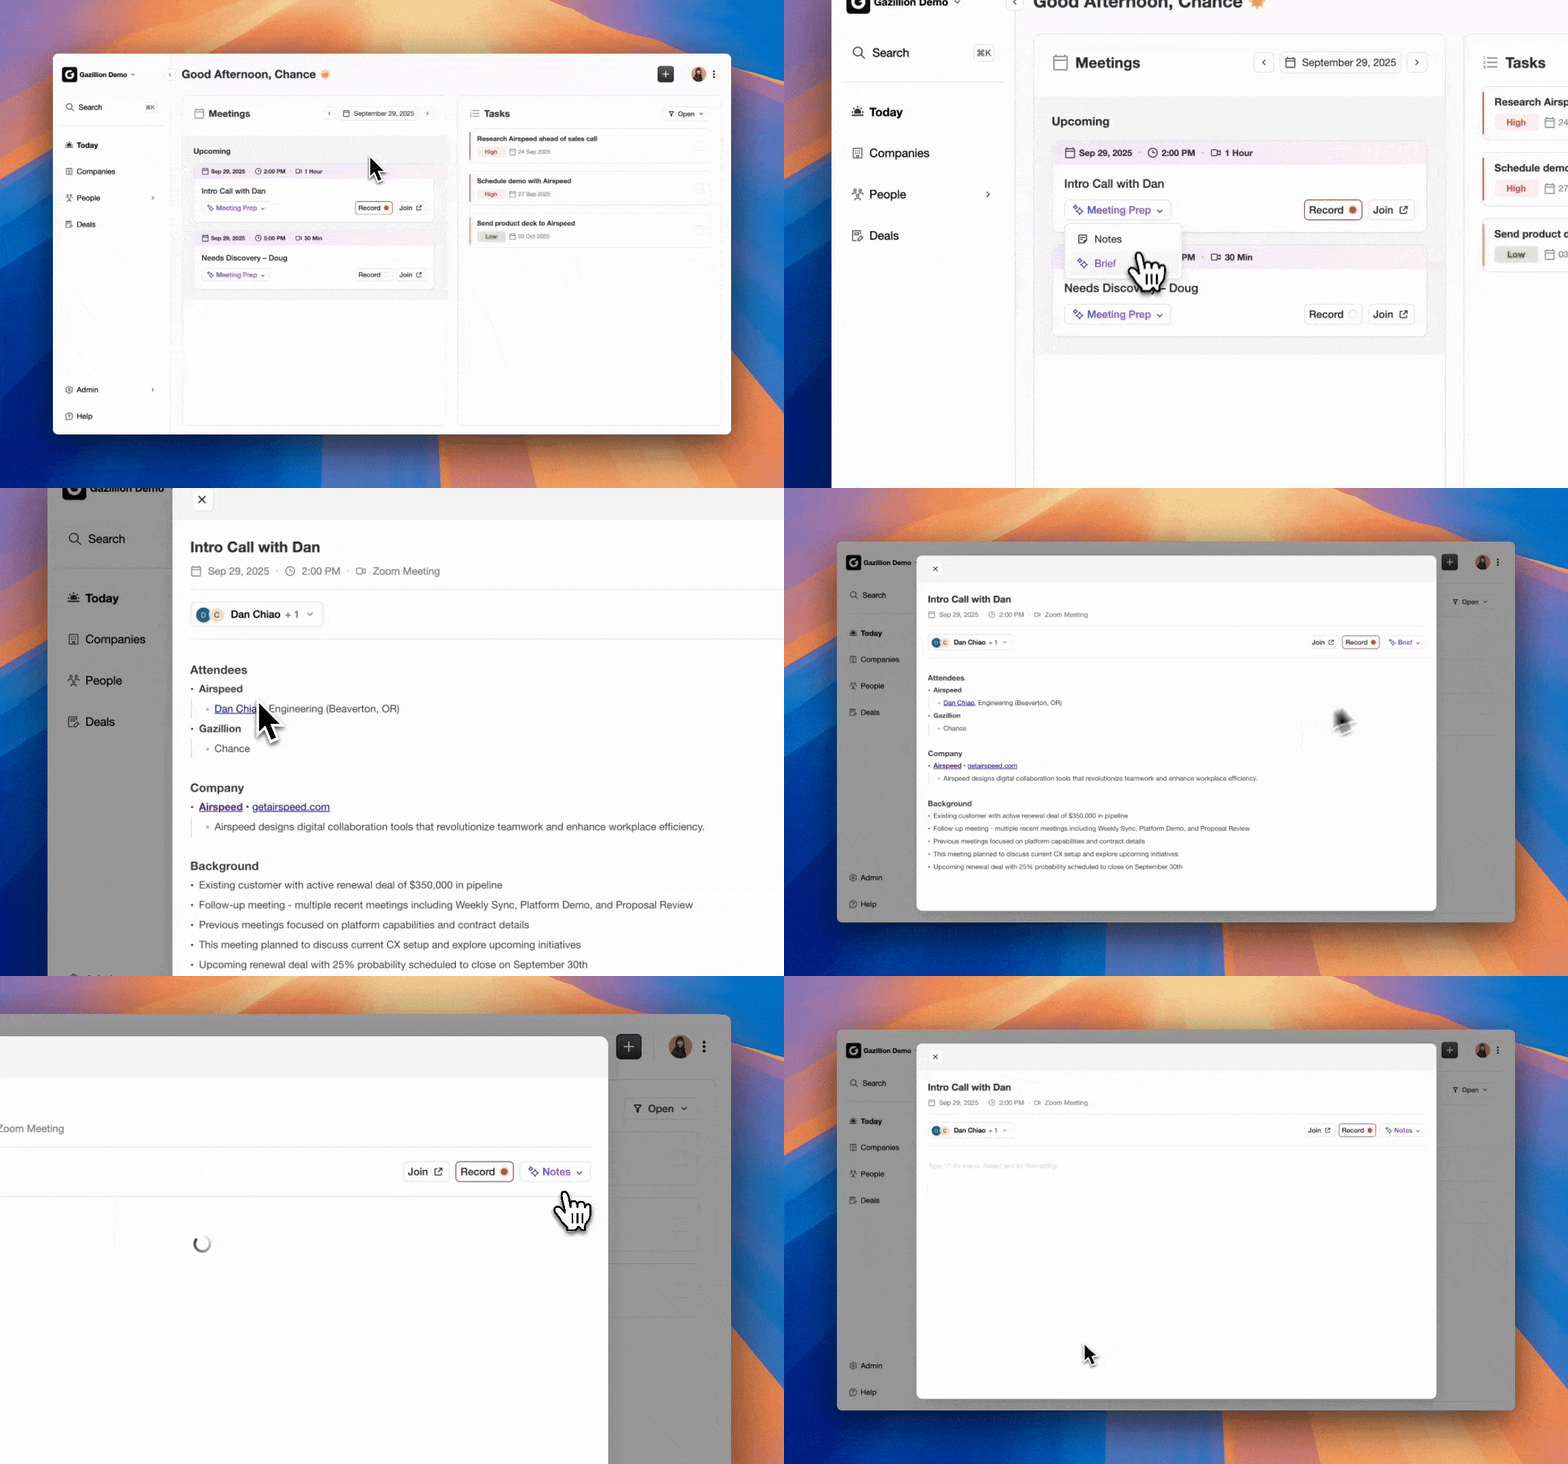
Missing data: Required fields stay empty when reps do not know what to enter at each stage. Use Sales Path guidance and validation rules to surface the right fields at the right time. Coffee then auto-populates many of those fields from email and calendar context.
Inaccurate forecasts: Inaccurate forecasts usually trace back to inconsistent stage definitions, missing required fields, or reps marking deals “Commit” without supporting engagement data. Cross-check rep-submitted probability against Einstein’s score and review historical win rates by stage to recalibrate default probabilities.
Stale deals: Platform-native stale deal alerts highlight deals that look quiet in the CRM. These alerts cannot distinguish between a truly dormant deal and one where the rep is actively talking to the buyer through channels the CRM does not capture. Coffee logs activities automatically from email and calendar, so LastActivityDate reflects real engagement.

Duplicate records: Multiple entries for the same account inflate pipeline value. Use Salesforce duplicate rules to prevent creation. Coffee’s agent unifies data streams across emails and calendar to prevent duplicates at the point of entry.
Validation and Success Criteria
After completing the setup, confirm that the configuration performs against these benchmarks:
- Data quality: Required fields are populated on 95% or more of open opportunities.
- User adoption: Monitor stage update frequency and login rates. Target at least 80% weekly active usage among reps.
- Report accuracy: Pipeline totals in reports match list views. Reconcile with actual closed revenue each quarter.
- Forecast accuracy: Teams that respond to critical deal changes within 24 hours often hold forecast variance under 10%. Aim for that threshold each quarter.
With Coffee in place, these metrics improve more easily. The agent handles data entry without rep effort, so adoption and accuracy follow from the configuration instead of relying on rep discipline.
FAQ
How long does it take to set up pipeline tracking in Salesforce?
A basic setup that includes opportunity stages, Sales Path, and a pipeline report usually takes one to two weeks for a Salesforce admin with clear stage definitions already agreed upon by sales leadership. A full setup that includes Collaborative Forecasts, custom Flow automation, and a complete dashboard suite typically takes four to eight weeks, depending on data cleanliness, team size, and whether sandbox testing is required before production deployment.
The largest time variable usually comes from stakeholder alignment on stage exit criteria and forecast category mappings. Technical configuration tends to move faster once those decisions are final.
Can I automate pipeline updates in Salesforce?
Salesforce Flow supports three automation patterns that cover the most common pipeline management needs. Use a Scheduled-Triggered Flow for stale deal alerts that query opportunities with no logged activity past a threshold. Use a Record-Triggered Flow for next-step task creation when a stage changes. Use another Record-Triggered Flow for close date slippage notifications when a close date is pushed.
For full automation of data entry such as activity logging, contact creation, and field enrichment, Coffee’s agent captures emails, calls, and calendar events and writes them to Salesforce automatically. The data that underpins these flows stays accurate without rep effort.
What is Pipeline Inspection in Salesforce?
Pipeline Inspection is a Lightning Experience feature that gives sales reps and managers a consolidated view of pipeline metrics, deal changes, and close date trends in a single interface. It surfaces week-over-week changes to key fields, including Next Step, which is trended by default.
To enable it, navigate to Setup > Feature Settings > Sales > Opportunities > Pipeline Inspection Setup. Toggle it on, verify historical trending is active, assign the Pipeline Inspection permission set to reps and managers, and add the Pipeline Inspection button to the Opportunity tab. The feature is available in Lightning Experience with Sales Cloud in Performance or Unlimited Editions only.
How many opportunity stages should I have?
Most B2B sales teams work best with five to seven open stages plus Closed Won and Closed Lost. Fewer than five stages hides important transitions in the buying process and makes stage conversion reports less actionable. More than seven creates ambiguity because reps feel unsure which stage applies, which leads to stage-skipping and inconsistent data.
The right number depends on how many distinct buyer-verified milestones exist in your sales process. If your team has different revenue motions such as new business, renewals, or channel, use separate Sales Processes with record types instead of adding more stages to a single list.
Why don’t my pipeline report totals match my list views?
Reports and list views use separate filter criteria and do not sync automatically. The most common cause is a mismatch in the Show Me filter. A report set to “My Opportunities” and a list view set to “All Opportunities” will always show different totals.
The second most common cause is a Close Date range difference between the report filter and the list view filter. A third cause is row duplication from using a report type that joins multiple objects, such as “Opportunities with Contact Roles,” which returns one row per related contact and inflates totals. Switching to the plain Opportunities report type and aligning the Show Me filter and Close Date range between the report and the list view resolves the discrepancy in most cases.
Why Coffee Fits Salesforce Pipeline Teams
The configuration above works best when the data inside Salesforce stays accurate. Manual data entry creates the main bottleneck. Seventy-one percent of sales reps say they spend too much time on data entry, leaving only 35% of their time for selling. Reps who view the CRM as a chore enter data inconsistently, stages go stale, and the pipeline reports you built reflect what reps typed instead of what actually happened.
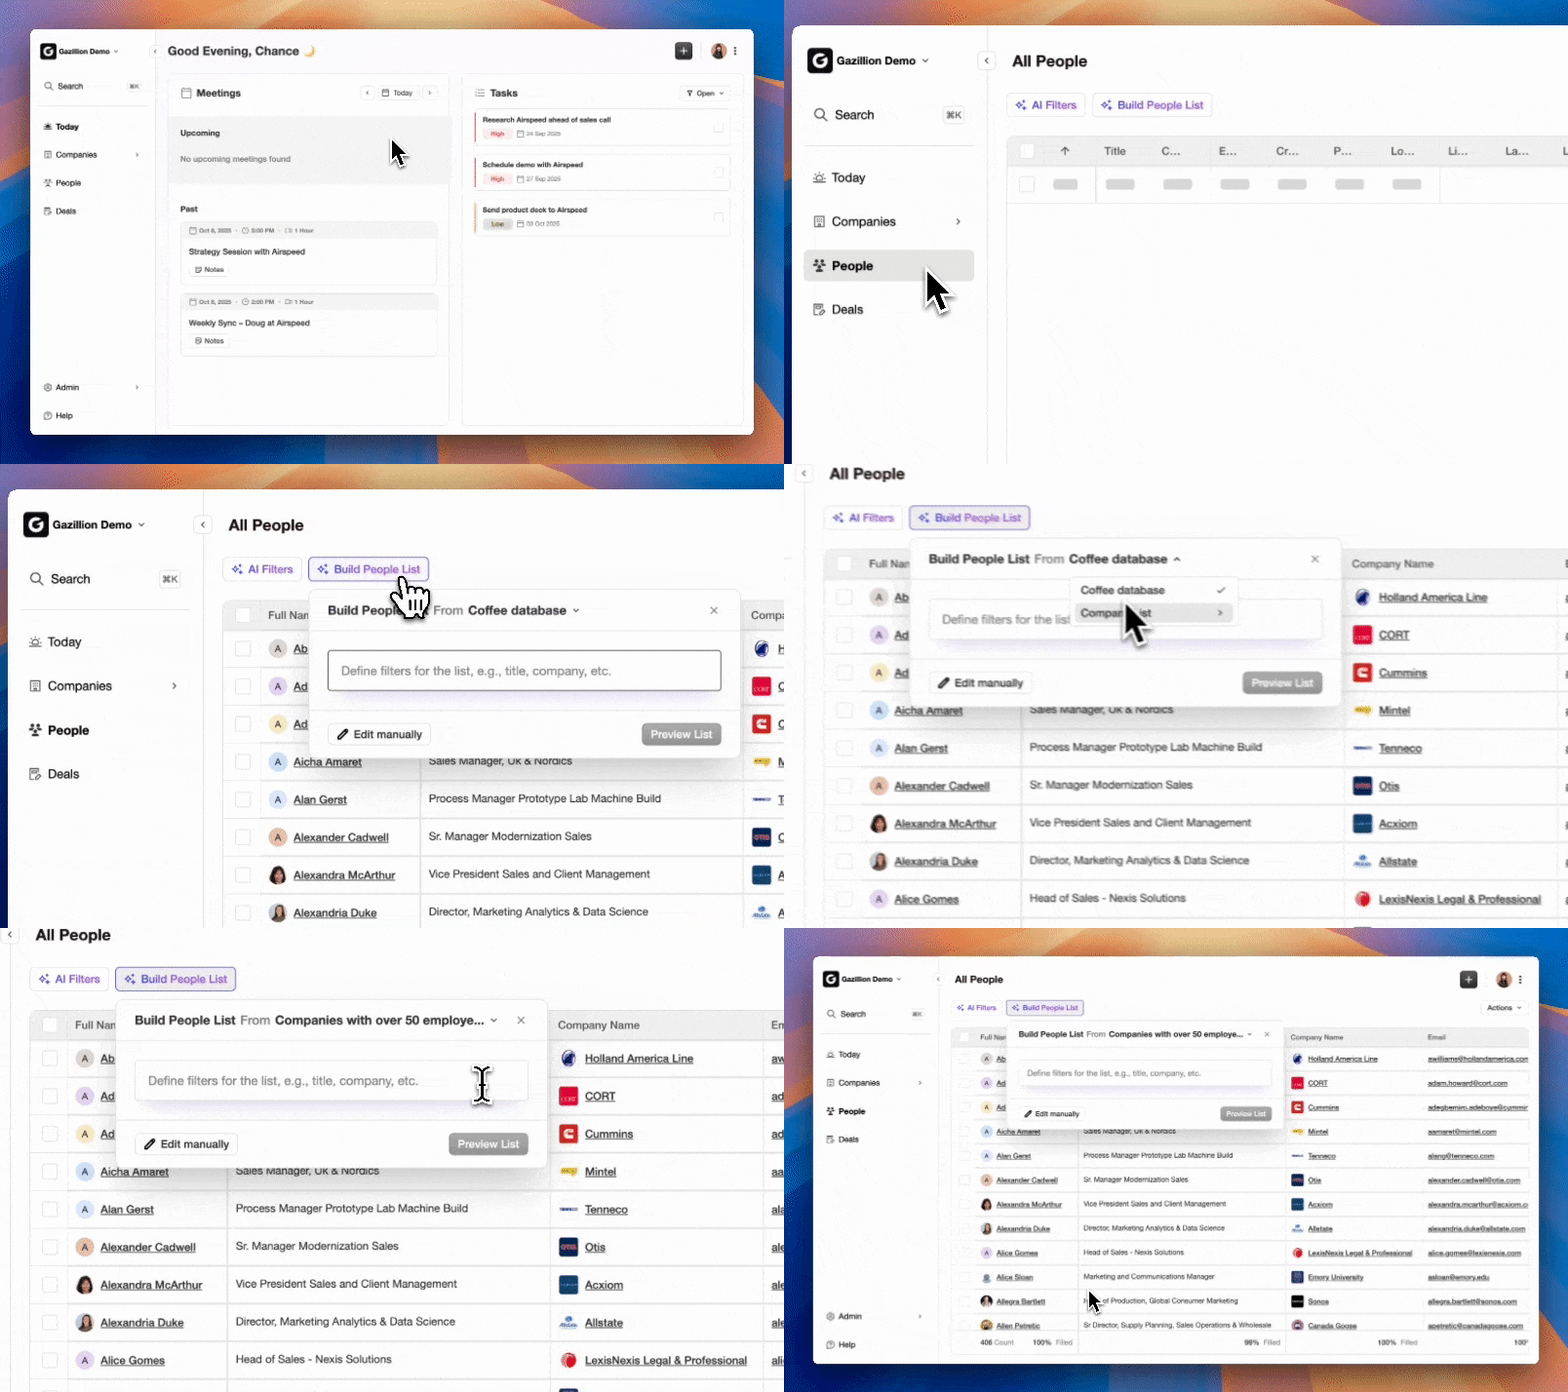
Coffee is the CRM Agent that solves this problem for Salesforce teams. As a Companion App, Coffee deploys an intelligent agent on top of an existing Salesforce instance. You keep your current setup. The agent captures emails, calendar events, calls, and transcripts and writes them directly to Salesforce. As a result, activity logging, contact creation, and field enrichment happen automatically.
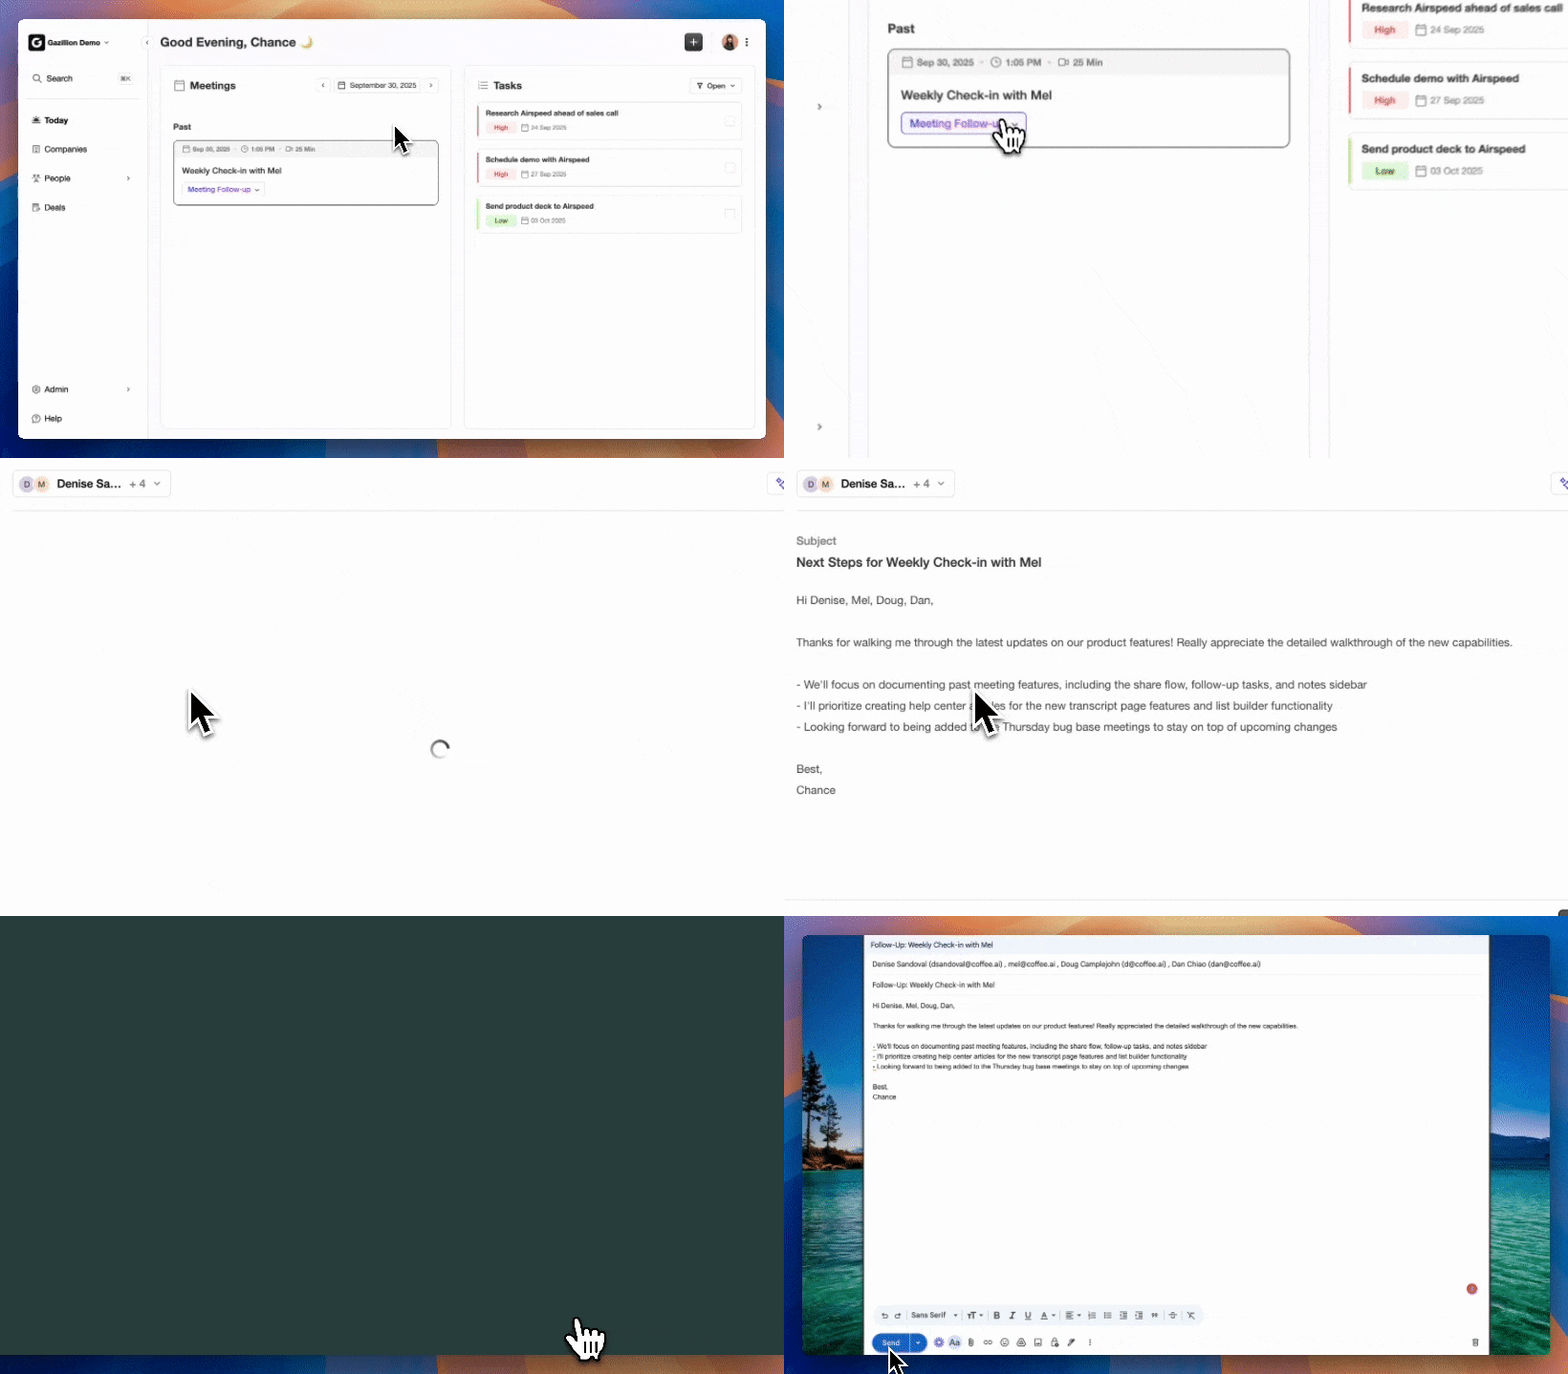
Key outcomes Coffee delivers for Salesforce pipeline management:
- Saves reps 8–12 hours per week by auto-creating contacts, companies, and activities from email and calendar, so LastActivityDate stays current without manual logging.
- Improves data quality by capturing ground-truth data from emails, calls, and transcripts and writing structured records back to Salesforce.
- Tracks all pipeline changes automatically with the Pipeline Compare feature, which replaces manual CSV exports and turns weekly pipeline reviews into strategic discussions.
- Supports the stale deal alert flows you built by logging real activity, so the CRM reflects actual engagement instead of only manually entered tasks.
Get started with Coffee and make your Salesforce pipeline configuration work the way it was designed to.
Conclusion: Keep Your Pipeline Accurate Over Time
A complete Salesforce pipeline deal tracking setup covers six layers: opportunity stages with probabilities and forecast categories, Sales Path with stage-level guidance, Pipeline Inspection for consolidated deal visibility, pipeline reports and dashboards with weighted metrics, Collaborative Forecasts mapped to stage confidence, and Flow automation for stale deal alerts and next-step task creation.
Each layer depends on accurate data. Coffee keeps that data fresh by capturing activity automatically, so your Salesforce pipeline remains a reliable, strategic asset for your entire revenue team.
Get started with Coffee and keep your Salesforce pipeline accurate without adding work for your reps.