Written by: Doug Camplejohn, CEO & Co-Founder, Coffee | Last updated: August 10, 2026
Key takeaways for HubSpot tracking and Coffee
- 97% of B2B visitors leave without converting, which creates lost pipeline that HubSpot tracking alone cannot recover.
- Install the HubSpot tracking code on every externally hosted domain to capture page views, sessions, and form submissions.
- Layer Coffee’s AI agent on top of HubSpot tracking to turn anonymous sessions into named, enriched contacts automatically.
- Verification steps include checking page source, Network tab, contact creation, and UTM attribution to confirm tracking works.
- Start turning anonymous HubSpot traffic into pipeline today with Coffee’s visitor identification.
Readiness checklist before you install HubSpot tracking
Confirm each item before you touch any code:
- HubSpot Marketing Hub access: You need at least a Starter subscription and Super Admin rights to access Tracking & Analytics settings.
- Site admin rights: You must be able to edit the theme, layout file, or tag manager container for every externally hosted domain you plan to track.
- Live domain: Externally hosted domains must be added in HubSpot’s reports settings after installing the tracking code so traffic appears in analytics.
- Consent-banner plan: HubSpot’s tracking code can respect visitor consent preferences for the analytics cookie category via the cookie banner. Decide before launch whether you will use HubSpot’s native banner or a third-party CMP such as Cookiebot.
- IP exclusion list: Identify internal office IP addresses to exclude so internal visits do not inflate analytics.
Step-by-step: Install the HubSpot tracking code
- Copy your unique HubSpot tracking code. In HubSpot, navigate to Settings > Tracking & Analytics > Tracking Code. Your account-specific JavaScript snippet appears there. The tracking code is unique to each HubSpot account and associates external site traffic with that account. Copy the entire snippet. Troubleshooting: If you see no snippet, confirm your user role is Super Admin. Free portal users access the same setting path but may see a simplified view.
- WordPress: install via the official plugin. HubSpot recommends installing the official HubSpot All-in-One Marketing plugin rather than manually adding the tracking code on WordPress, because manual installation prevents HubSpot from differentiating between posts and pages in analytics when a Marketing Hub subscription is active. Install and activate the plugin, then connect it to your portal using your HubSpot credentials. Troubleshooting: If the plugin conflicts with a caching plugin, purge the cache after activation and verify the snippet appears in page source by searching for your Hub ID followed by
.js. - Shopify: place the snippet in theme.liquid. In Shopify Admin, go to Online Store > Themes > Edit Code and open
theme.liquid. Paste the HubSpot snippet immediately before the closing</body>tag. You can also use Shopify’s Custom Liquid section in the theme editor for header or footer injection. Troubleshooting: Shopify checkout pages are now hosted on the merchant’s shop domain rather than the checkout.shopify.com subdomain. HubSpot tracking code can be placed on Shopify checkout pages using custom pixels without requiring Shopify Plus. Add your Shopify storefront domain under Additional Site Domains in HubSpot’s Advanced Tracking settings. - Webflow: inject via Project Settings. In Webflow, open Project Settings > Custom Code and paste the HubSpot snippet into the Footer Code field, which renders it before
</body>on every published page. Republish the site after saving. Troubleshooting: Custom code does not render in the Webflow Designer preview, so verify installation on the live published URL using the Network tab, not inside the editor. - React / Next.js: implement in _app.js or layout.tsx. For Next.js App Router (2026), add the snippet using the
next/scriptcomponent withstrategy="afterInteractive"inside your rootlayout.tsx. For Pages Router, place it in_app.jsinside auseEffecthook. Because React apps are single-page applications, manually calltrackPageVieweach time the route changes without a full page reload by first pushing["setPath", "/new-path"]to_hsq, then pushing["trackPageView"]so HubSpot records the accurate page path. Troubleshooting: Non-HubSpot forms must not be placed on a single-page application because HubSpot cannot capture those form submissions when HTML is not reloaded on navigation. Use HubSpot’s embedded form or the Forms API instead. - Cross-domain linking and consent-banner integration. To enable cross-domain linking, navigate to Settings > Tracking & Analytics > Tracking Code > Advanced Tracking tab and toggle on Automatic cross-domain linking. This setting appends
__hsfp,__hssc, and__hstcparameters to links between domains, which preserves traffic-source attribution across properties. Add every externally hosted domain under Additional Site Domains. For consent, when you use an external cookie banner instead of HubSpot’s, administrators must manage HubSpot cookies via the cookie banner API, custom CSS or JavaScript, or compatible App Marketplace integrations such as Cookiebot. Under GDPR, non-essential cookies require prior consent, and consent banners must present Accept All and Reject All with equal visual weight. Under CCPA or CPRA, websites must provide a clear Do Not Sell or Share My Personal Information mechanism and automatically honor Global Privacy Control signals. Troubleshooting: Enabling automatic cross-domain linking creates new URLs containing tracking parameters, which may affect Google crawl budget. Submit an updated sitemap after you enable this setting.
How to verify that HubSpot visitor tracking works
HubSpot provides an automated tracking code validation tool in account settings under Tracking & Analytics > Tracking Code, where users enter a webpage URL and receive emailed test results. For manual verification, use these four checks:
- Page source: Search for your Hub ID followed by
.js(for example,401264.js). Its presence confirms the snippet is installed. - Network tab: After a hard refresh, confirm
[HubID].jsloads fromjs.hs-scripts.comorjs.hs-analytics.comwith a200 OKor304 Not Modifiedstatus, and that__ptq.gifreturns200 OK. This result confirms the tracking beacon fires correctly. - HubSpot contact creation: Submit a test form using a unique email address, then check HubSpot contacts to confirm the record was created with page-view activity logged.
- UTM attribution: Visit a page with a UTM-tagged URL, submit the test form, and verify the contact’s Original Source reflects the correct campaign. Redirects that strip UTM parameters are a common cause of source misattribution. Test in a private browser to confirm parameters survive.
Once you confirm that HubSpot tracking works correctly, you can add Coffee’s visitor identification layer to capture contacts who never submit a form.
HubSpot tracking vs Coffee Visitor Identification
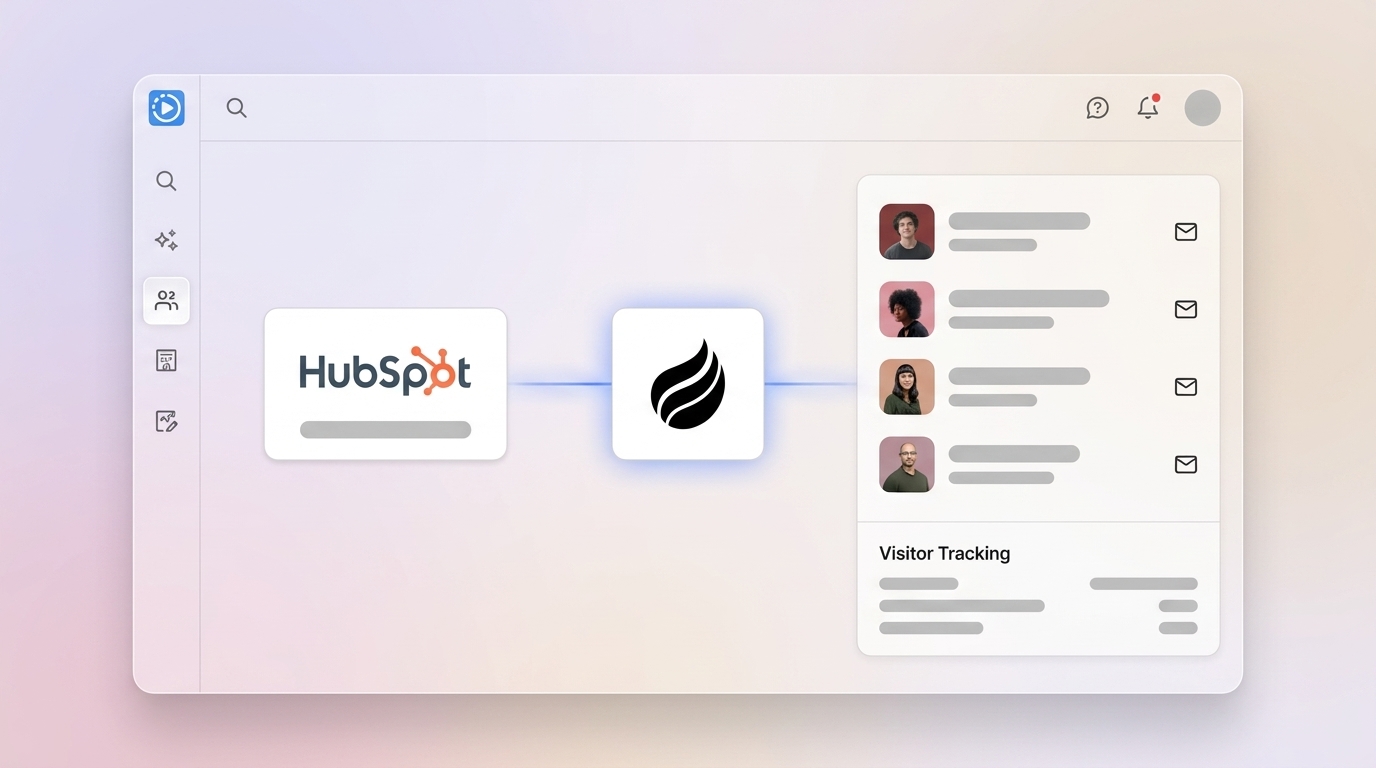
HubSpot’s tracking code identifies a visitor only after they self-identify via a form submission. Coffee’s pixel resolves named individuals from anonymous sessions without a form fill and then writes enriched records directly into HubSpot.
| Capability | HubSpot Native Tracking | Coffee Agent Layer (on top of HubSpot) | Practical Impact |
|---|---|---|---|
| Anonymous session capture | Yes, IP, timestamp, page path, VID | Yes, same signals plus person-level resolution | Coffee surfaces the name, title, and LinkedIn profile behind the session |
| Named contact creation | Only after form submission | Automatic, no form required | Visitor identification can recover a significant portion of anonymous B2B visits as named accounts |
| Contact enrichment | Manual or via paid Breeze Intelligence add-on | Automatic, job title, company, LinkedIn, funding data pre-filled | Reps receive ready-to-act records, with no ZoomInfo lookup required |
| Suggested Leads | Not available | Coffee recommends 2–3 specific buyers inside the visiting company matched to your persona | Eliminates undifferentiated people lists and surfaces the right humans for outreach |
Add Coffee’s agent layer to your HubSpot tracking to automatically resolve anonymous sessions into enriched contacts.
Common HubSpot tracking errors and quick fixes
Multiple tracking codes on one page. Only one HubSpot tracking code should be installed per page, and if multiple codes are present, only the first one to load will fire. Audit your tag manager container and theme files to confirm a single instance.
Cookie blockers and consent tools. Common blockers that prevent the HubSpot tracking code from firing include cookie consent tools, ad or script blockers, Content Security Policy restrictions, and tag manager rules. Test in an incognito window with extensions disabled to isolate the cause.
IP exclusions hiding real traffic. Visits from IP addresses excluded from analytics are still tracked and appear in the HubSpot website visits tool, but they are excluded from standard analytics reports. Confirm your exclusion list does not inadvertently include a shared office IP used by prospects.
SPA route changes not tracked. For React, Next.js, Vue, or Angular applications, the tracking code fires once on initial load. Ensure you have implemented the route-change tracking described in Step 5. If page views still do not register after navigation, verify that your router’s navigation hook fires the trackPageView call on every route transition.
Secondary domains treated as new companies. HubSpot’s website visits tool only checks the primary domain of existing company records in the CRM, so secondary domains are treated as new company records rather than linked to the primary domain. Manually merge duplicate company records or use Coffee’s agent to unify them automatically.
FAQ: Consent, cross-domain tracking, and scaling
Consent requirements under 2026 GDPR and CCPA for HubSpot tracking
Under GDPR, the HubSpot tracking code sets non-essential analytics cookies, which require prior opt-in consent from visitors in the EU. Your consent banner must present Accept All and Reject All options with equal visual prominence, and you must maintain timestamped consent logs. Under CCPA or CPRA in California, the model is opt-out rather than opt-in. You may track by default but must provide a clear Do Not Sell or Share My Personal Information link and honor Global Privacy Control signals automatically. HubSpot’s native cookie banner handles the opt-in flow for EU visitors when configured correctly. If you use a third-party CMP such as Cookiebot or OneTrust, integrate it with HubSpot via the cookie banner API so the tracking code does not fire before consent is granted. For Coffee’s Visitor Identification pixel, company-level identification via IP-to-company lookup is generally permissible under GDPR legitimate interest for B2B marketing. Person-level identification requires a documented Data Protection Impact Assessment and region-aware CMP controls.
Cross-domain tracking setup across multiple sites
Install the same HubSpot tracking code on every domain you want to unify. Then in HubSpot, navigate to Settings > Tracking & Analytics > Tracking Code > Advanced Tracking and toggle on Automatic Cross-Domain Linking. Add each externally hosted domain under Additional Site Domains so that traffic moving between your properties is treated as internal navigation rather than a referral. HubSpot merges visitor profiles across domains when a visitor either submits a form with the same email on both domains or clicks a link between domains while the tracking code is active on both ends. Cross-domain linking is required only for distinct domains, not subdomains, unless you have enabled the Limit Cookies to Subdomains option. After you enable this setting, test a controlled journey, such as Domain A landing page to Domain B form submission, and verify HubSpot records the session without logging a self-referral.
IP anonymization options for HubSpot visitor tracking
To limit data collection for visitor tracking, you can use HubSpot’s do-not-track mechanism by pushing the command _hsq.push(["doNotTrack"]) in the visitor’s browser, which stops all page-view tracking, event tracking, and visitor identification for that session. This approach works well for honoring opt-out requests or excluding internal employee traffic. If anonymization is a regulatory requirement for your EU audience, evaluate whether a privacy-first analytics layer is needed alongside HubSpot, or ensure your consent banner prevents the tracking code from firing for visitors who decline analytics cookies, which can prevent certain data collection for those sessions.
Scaling HubSpot visitor tracking across subdomains
HubSpot recommends adding the root domain in Advanced Tracking settings so that all subdomains are automatically tracked as part of the same site. Adding a specific subdomain instead tracks only that subdomain. For example, adding yourcompany.com covers blog.yourcompany.com, app.yourcompany.com, and shop.yourcompany.com automatically. Install the tracking code on each subdomain’s theme or layout file individually, because HubSpot does not inject the code across subdomains automatically just because the root domain is registered. Confirm that the same HubSpot portal ID appears in the tracking snippet on every subdomain template, including service pages, blog posts, campaign landing pages, and thank-you pages. Use HubSpot’s automated tracking code validator to test each subdomain URL after deployment.
Conclusion: Turn HubSpot tracking into named pipeline
Installing HubSpot visitor tracking correctly is a six-step process. Copy your unique snippet, deploy it via the platform-specific method for WordPress, Shopify, Webflow, or React or Next.js, then configure cross-domain linking and your consent banner. Verify with the Network tab and HubSpot’s built-in validator. That foundation captures sessions and attributes them to known contacts after form submission, but it leaves the vast majority of traffic anonymous.
Coffee’s AI agent closes that gap. Drop Coffee’s pixel alongside your HubSpot tracking code and the agent resolves anonymous visits into named, enriched contacts, complete with job title, company, LinkedIn profile, pages visited, and time on site. It then writes those records directly into HubSpot with no manual data entry. Where competitors surface only a company name or an undifferentiated list of people, Coffee’s Suggested Leads feature identifies the two or three specific buyers inside the visiting company who match your buyer persona, ready for a LinkedIn connection or an automated outreach campaign.
Convert your anonymous traffic into named pipeline with Coffee’s AI-powered visitor identification.